
Which AI clothes editor should you choose?
Choose WeShop if your starting point is a garment and you want to explore how it appears on a model. Consider SellerPic if outfit editing is one part of a larger product-image workflow. Choose RemoveClothes.pro if you already have a suitable photo and want a direct clothes-removal result with few decisions to make.
These recommendations describe workflow fit. A tool with more features is not automatically the easiest choice for a single edit, and a simple editor is not necessarily suitable for a clothing catalog. Decide whether the garment, the person, or the wider campaign is the thing you need to control before comparing feature lists.
About this comparison: written by the RemoveClothes.pro team. Competitor descriptions use public product information checked on September 8, 2026. We have not run a controlled three-platform image test. Illustrations are examples, not quality scores or evidence that one service outperforms another.
Clothes removal, outfit replacement, or virtual try-on?
Search results often use these terms for overlapping jobs. For this comparison, an AI clothes remover means an editor that replaces visible clothing with a generated outfit. Virtual try-on starts with a particular garment you want to visualize. A broader photo suite may also help with backgrounds, product presentation, or other creative assets.
The distinction matters when preparing your input. A personal outfit concept begins with a person photo. A product-led task also needs a useful reference for the item being sold. If exact seams, prints, or a brand-specific silhouette are essential, define those requirements before generating anything. A convincing picture alone cannot establish that the garment is represented accurately.
AI creates new pixels; it does not recover hidden source-image information or measure how a garment will fit. Read our clothes remover versus outfit changer guide for a closer look at those different editing goals.
WeShop vs SellerPic vs RemoveClothes.pro at a glance
| Decision | WeShop | SellerPic | RemoveClothes.pro |
|---|---|---|---|
| Main focus | Garment visualization and creative imagery | Product imagery and virtual try-on | AI clothes removal |
| Starting point | Garment or product image for try-on | Choose the relevant apparel or image-editing tool | One person photo |
| Control | Model and presentation choices | Multiple dedicated editing tools | One predefined transformation |
| Our suggested use | Exploring apparel presentation | A broader product-content workflow | A direct clothes-removal edit |
| Check before choosing | Garment fidelity and plan allowances | Required tool access and plan allowances | Whether the fixed output suits your goal |
| Official details | WeShop Virtual Try-On | SellerPic clothes editor | Our editor |
If you do not need to upload a specific replacement garment or plan a campaign, open the RemoveClothes.pro editor to see the focused workflow. If your goal is to reproduce a particular item for sale, start by evaluating a garment-reference workflow instead.
1. WeShop: a garment-led starting point
WeShop’s Virtual Try-On page describes uploading a garment or product image, selecting a model, and generating clothing visuals. Its main site also lists fashion models, product photography, background removal, and image and video tools.
Where it fits: we would shortlist it for a fashion seller exploring how to present an item across different visuals. Tradeoff: a wider set of presentation choices gives you more decisions to make than a predefined edit. Inspect the garment against the original reference before using a result in a listing.
For a fair trial, write down the details that must survive: the number of buttons, sleeve length, position of a print, neckline, and hem. Reject a beautiful image if it changes the product. Separating visual appeal from item accuracy makes your review more useful than simply asking which output looks most polished.

2. SellerPic: outfit editing within a product-image suite
SellerPic’s clothing-editor overview connects outfit changes with fashion and e-commerce content. Its tool navigation includes apparel and accessory virtual try-on, model swapping, background editing, retouching, and image-to-video.
Where it fits: we would consider SellerPic when clothing changes sit alongside other product-image tasks. Tradeoff: choose the specific tool that matches the intended transformation. Check current requirements in the apparel try-on tool rather than relying on an older blog’s description of the upload process.
When comparing a suite with a focused editor, map the whole job. If an image also needs a new setting, a different crop, and assets for a campaign, evaluate those steps together. If you only need one outfit concept, count how many choices you must make before reaching a usable result.

3. RemoveClothes.pro: one photo, one defined edit
Our editor takes a different approach: upload one JPG, PNG, or WebP image up to 8 MB, confirm permission, generate a clothes-removal edit, then inspect and download the result. There is no replacement-garment upload or custom prompt field. The product is designed around a predefined transformation.
Where it fits: a suitable, authorized person photo and a straightforward AI clothes-removal task. Tradeoff: it is not a catalog-production system or a precision retouching tool. You cannot specify every output detail through the current interface. The simpler workflow is valuable only when its intended output matches your goal.
 BeforeAfter
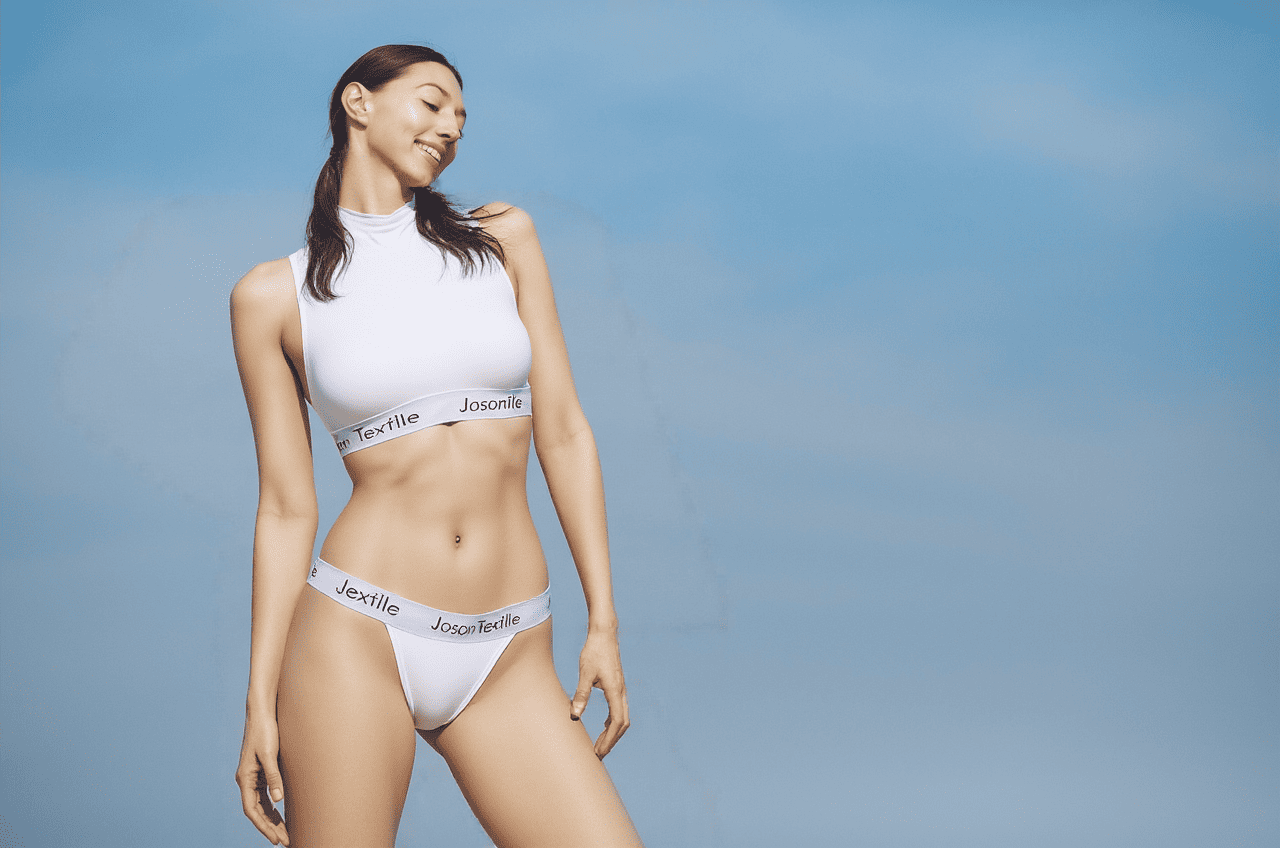
Start with our photo-selection checklist. Clear lighting, readable clothing edges, and an uncomplicated pose give you a more useful input to evaluate. After generation, compare the face, hands, proportions, and background with the source. Keep only a result that matches the intended edit.
Compare the cost of a usable result
Do not make a purchase decision from a “free” label alone. Check the current WeShop pricing page and SellerPic pricing page for the tool and plan you intend to use. We do not quote subscription amounts or promise competitor trial allowances here because those details were not fully verified for this review.
Before committing, check how generation credits are consumed, whether retries cost credits, what download resolution is included, and whether the displayed price assumes annual billing. Those are evaluation questions, not claims that either service imposes a particular restriction.
Calculate your practical cost by dividing total spend by the number of images you actually approve. Ten generations with only two usable results cost more per finished asset than the headline per-generation figure suggests. Include review and correction time as well. A workflow that saves a few clicks can still take longer overall if its output misses the brief.
How to run your own useful comparison
A fair comparison starts with a shared goal. If one tool is asked to reproduce a jacket and another is asked to remove clothes, the outputs cannot establish an overall image-quality winner. Compare the overlapping task, or evaluate each service against a separate brief that reflects what it actually offers.
- Define the result. Decide whether success means a recognizable person in a new outfit, faithful representation of a garment, or a campaign-ready composition.
- Prepare authorized references. Use a clear source photo and, where the workflow needs one, a well-lit product image. Keep the source resolution consistent.
- Set a trial budget. Give each suitable workflow the same number of attempts. Record unsuccessful generations as well as your favorite result.
- Inspect at full size. Check identity, hands, clothing boundaries, texture, shadows, and scene continuity. For product work, compare every important garment detail.
- Record the whole workflow. Count preparation, generation, review, fixes, and export. Note which mistakes would stop you using an image.
Use a simple pass, needs correction, or reject label for each criterion. This makes the decision easier to explain to another person and prevents one attractive output from outweighing repeated failures. Keep original files beside generated versions so you can revisit your judgments without relying on memory.
If a source photo repeatedly causes distorted hands or clothing edges, change the input before drawing a conclusion about the service. Our troubleshooting guide explains common reasons an outfit edit may look unnatural.
Frequently asked questions
Which is the best SellerPic alternative?
For a garment-led workflow, WeShop is worth evaluating. For a single predefined clothes-removal result, consider RemoveClothes.pro. Neither recommendation establishes a universal winner; the relevant comparison is the task you need to finish.
Can all three tools remove clothes from a photo?
No. WeShop and SellerPic focus on garment-led workflows, while RemoveClothes.pro is designed for direct AI clothes removal. Choose the workflow that matches the result you actually need.
Does virtual try-on predict physical fit?
Treat a generated image as a visual concept. It does not provide measurements or establish how fabric will stretch, move, or feel. Use actual product measurements and fitting information for a fit decision.
What should I check before uploading a person’s photo?
Use an image you have permission to edit, with informed consent for the specific transformation. Read the service’s handling policies before uploading. Our Privacy Policy and Acceptable Use Policy explain the requirements for our editor.
Start with the workflow you actually need
Shortlist WeShop for garment presentation, consider SellerPic for a broader product-image workflow, and use RemoveClothes.pro when direct AI clothes removal fits the brief. The most useful choice is the one that gives you the necessary control without adding work you do not need.
For the focused route, try the editor with a suitable photo. Review the result against the original before downloading or sharing it.